Monday, February 7, 2011

February Week 1

First of all, yes I changed my blog title. It was a bit of a misnomer, but I called it Palabras (Words) de Copernicus because that was my screen name. Anyway, I decided to change it to Random Rambling because that's what I do. LOL. It's a tentative title until I think of something more creative.

On to more exciting stuff, here are my pictures for the first week of February.

1 Feb. 2011: My parents came back from Mexico and they brought me back pomegranate tequila. I love it! It's sweet and does not burn your esophagus.  

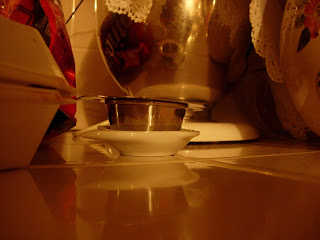
2 Feb. 2011: I got home late and I was not feeling inspired at all, so there's my teapot strainer and kitchen aid. 


3 Feb. 2011: Feeding my two addictions. Sadly, I still had wrong answers even though I was working on a kid's crossword puzzle and the solution was below....Sadness....I was over analyzing my answers....yeah, that's it. 


4 Feb. 2011: I discovered a used music store (Orphaned CD's) across the dental office I go to and found these awesome records! 

....oh and she stabbed herself with an X-acto knife and needed stitches. Eek, indeed. 

5 Feb. 2011: Saturday was my mom's birthday. She turned 47 and we celebrated with food,

cake and.....

oh yes, tequila!!!!

Thursday, February 3, 2011

How to make an envelope out of circles.

Why spend tons of money on stationary, when you can make your own? Here is a tutorial of a simple envelope you can use...especially now that Valentine's day is right around the corner.

Materials:

  • Circle stencil
  • Pencil
  • card stock or medium weight paper.
  • scissors or X-acto knife.
  • Glue (I learned elmer's glue works best for cardstock)
  • Waste paper
  • Bone Folder.

1. Trace 4 circles and cut them.


2. Fold your circles in half. It helps to have a bone folder.


3. Place your waste paper on the bottom so you do not ruin your work space. Apply glue on the rim of each circle. Make sure that one edge is tucked into a circle and the other overlaps a circle. You also want to form a square when you glue the circles. 


See how the creases form a square?

4. Let the glue dry. Then tuck the flaps like so: 

The back side.

5. Insert your note for that special someone.


Have fun!


Tuesday, February 1, 2011

Week 4

A month has passed by and so far I'm still diligent about taking pictures everyday. Yay. Here are some highlights for week 4.


I love tins! I can't have enough of them. 
Cute envelope...it has a funny story behind it..... 
the kiddies wanting in. 
Sardines and tamarind...the perfect combination?

candy!

more candy!

Pretty Jello.


Je je, sleepy pants

My cousin's architecture project.

getting my crossword puzzle fix.